Images play an important role in user experience and search engine optimization. The visual appeal of photos increases the likelihood of returning visitors. However, images must be edited and optimized in order to be easily identified by search engines and quickly loaded in browsers.
Photo Editing & Image Optimization
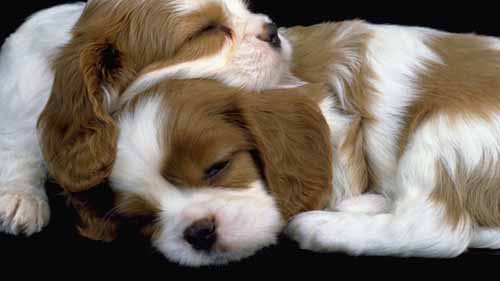
- Include keywords in a photo’s file name just as you would include keywords in a URL or the body text of a page. E.g. Instead of naming your image of a sleeping puppies IMG_001.jpg, you should name it sleeping-puppies.jpg.
- Create descriptive alternative (alt) text, which is how search engines determine what your image is about. E.g. The alt text for this sleeping puppies image could be “sleeping king charles spaniel puppies”.
- Create a descriptive title, which is similar to the alt attribute in that it provides information about the image displayed. It is important to include both alt and title attributes, although search engines generally concentrate on the alt text.
- Image captions can help decrease bounce rates since they are one of the most well-read pieces of content on a webpage. However, captions are not the most important factor in image optimization.
- Reduce the file size and quality of an image to be as small as possible to make your page load faster in a browser. Page load time is a very important factor for SEO. You will need to use an editing program to resize your image.
GIMP Photo Editor
![]()
GIMP (The GNU Image Manipulation Program) is basically a free, open source version of Photoshop. GIMP has many image editing and processing features, with additional plugins that make the program able fulfill just about all your image manipulation needs.

Download GIMP
GIMP is free to download and use on both Mac and PC. Simply click the GIMP download button on the homepage of www.gimp.org and follow the directions to start reaping the benefits of this great image manipulation software.

Resize Photos with GIMP
- Open the image you want to resize.
- Go to Image > Scale Image
- Set your pixel width and/or height and then click the chain on the right to make dimensions proportional.
- X and Y resolutions set the printing resolutions for the image.
- Quality/Interpolation – None (low quality) > Cubic (high quality)
- Sinc (Lanczos 3) – New with GIMP 2.4 and gives less blur in important resizings
Scale Tool
If you want to resize an image to specific dimensions that differ in proportion, it is easiest to use the scale tool.
- Go to File > New
- Set your desired dimensions.
- Open the image you want to use, or drag it onto the new canvas from Google Images. Make sure that this image is larger than your desired dimensions.
- Scale and crop the image down to your desired dimensions using the scale tool.
- Watch the tutorial video on how to scale an image in GIMP.
Reduce Image Quality with GIMP
- To save your resized image go to File > Export
- Export your image as a JPEG file. You can export and save images as other file formats, but JPEG files are commonly used for compressed images.
- A dialog box will display that allows you to set the image quality and shows a preview in an image window.
- The dialog box will also display the file size. You will have to find a happy medium between the quality and size of your image.
Add Text / Watermarks with GIMP
- Add text to an image by selecting the text tool and clicking on the image where you want the text to appear. You can always move the location of the text later with the move tool.
- The text dialog box allows you to change the color, font, size, and style of the text.
- You can see the different layers (text layer and image layer) in the Histogram – Layers window on the right.
GIMP Batch Image Manipulation
GIMP is equipped with several different plugins that extend the functionality of the application. The Batch Image Manipulation plugin allows you to process multiple different files at the same time.
- Create a folder on your Desktop that includes all the images you want to process.
- In GIMP go to File > Batch Image Manipulation > Add image files
- Add the folder you have created. Your files will appear in the Input files field.
- In the Manipulations set field you can add multiple different manipulations including resize, crop, flip or rotate, color correction, sharp or blur, apply a watermark text or image, change format and quality, rename with a pattern, or other GIMP procedures.
- Watch this full video walkthrough on how to use GIMP’s Batch Image Manipulation plugin by resizing, changing format and quality, renaming, and applying a watermark.
You might also wanna check Search Engine Optimization – Google+.